
Mountain microorganisms: how to capture and reproduce them on your farm
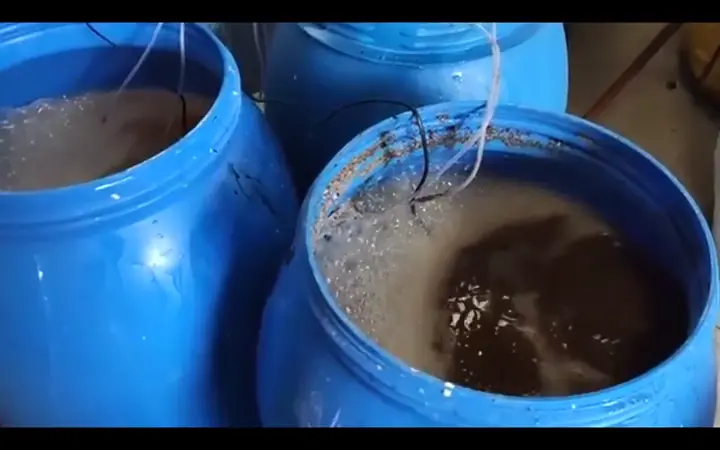
If you have ever lifted the leaf litter in a forest and seen a dark layer with white threads underneath, you already know the raw material of this article. Mountain microorganisms (MM) are a simple, cheap way to bring the soil life of a nearby undisturbed ecosystem to your farm. They are one of the classic pieces of any biofactory.
In this article we explain what they are, how to collect them, how to reproduce them in solid and liquid form and how to use them without magical expectations.
What are mountain microorganisms?
According to the practical bio-input manuals of Mexico's Ministry of Agriculture and INIFAP, MM are inocula with high populations of fungi, bacteria and actinomycetes that live naturally in the surface organic layer of soils in little-disturbed ecosystems, such as forests and shaded areas.
The same manual explains that the technique is inspired by the work of Japanese professor Teruo Higa, of the University of the Ryukyus, on so-called effective microorganisms, and that MM are a low-cost version for reproducing the microorganisms living in our own forests.
A key idea from the manual: collect the inoculum close to where it will be applied, because microorganisms adapt better to a climate similar to that of their origin.
Step 1: collect the inoculum in the forest
The manual gives clear guidelines for choosing the site:
- A forest or shaded natural area, with undisturbed vegetation cover.
- No agrochemicals for at least the last three years.
- Little foot traffic.
To collect it:
- Move aside the freshly fallen litter, roughly the first two centimetres.
- Look for the decomposing layer: dark brown or black, with whitish patches that reveal fungal growth.
- Collect that leaf mould from the top few centimetres, down to about ten, spreading collection over several points so as not to deplete any one.
Our advice: ask the forest owner for permission and collect in moderation. The idea is to multiply, not to plunder.
Step 2: reproduce in solid form
The solid phase multiplies the inoculum in an air-free medium. For about 50 kg of product, the manual proposes:
- Nutrient substrate: rice, wheat or maize bran or semolina, or grain flours, depending on what you have.
- The collected leaf mould, in a volume similar to the substrate.
- Molasses dissolved in chlorine-free water, as a source of sugars.
- Rock dust, as a mineral input.
The process, in short:
- Crumble the leaf mould on firm ground or a tarpaulin.
- Spread it in layers alternating with the substrate and sprinkle it gradually with the diluted molasses.
- Mix well with a shovel.
- Do the fist test: when squeezed, it should form a compact lump that does not drip.
- Sprinkle on the rock dust and mix again.
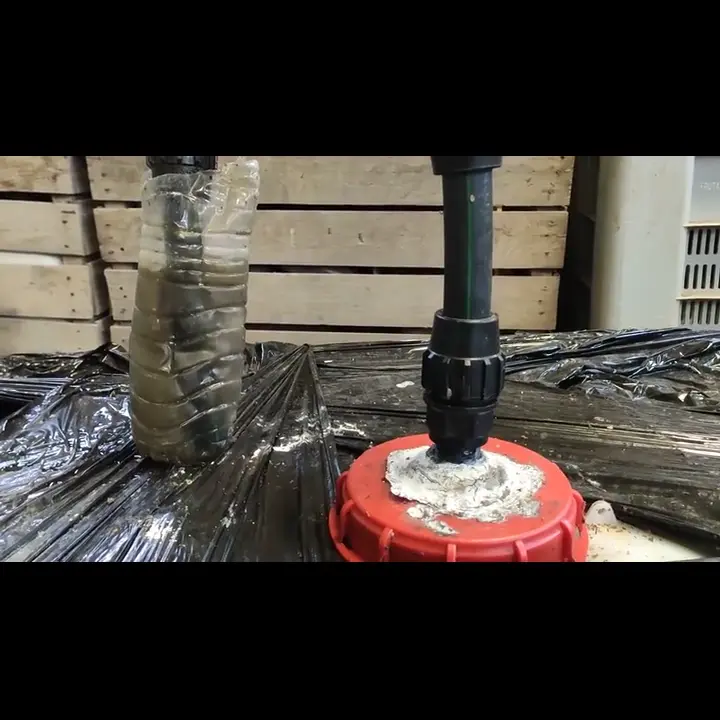
- Fill a plastic drum, pressing the mixture down in layers to remove the air, and seal it hermetically.
- Leave it in the shade for about 30 days without opening it. Label it with the date.
According to the manual, when opened the top layer should look white and smell of forest soil.
Step 3: activate in liquid
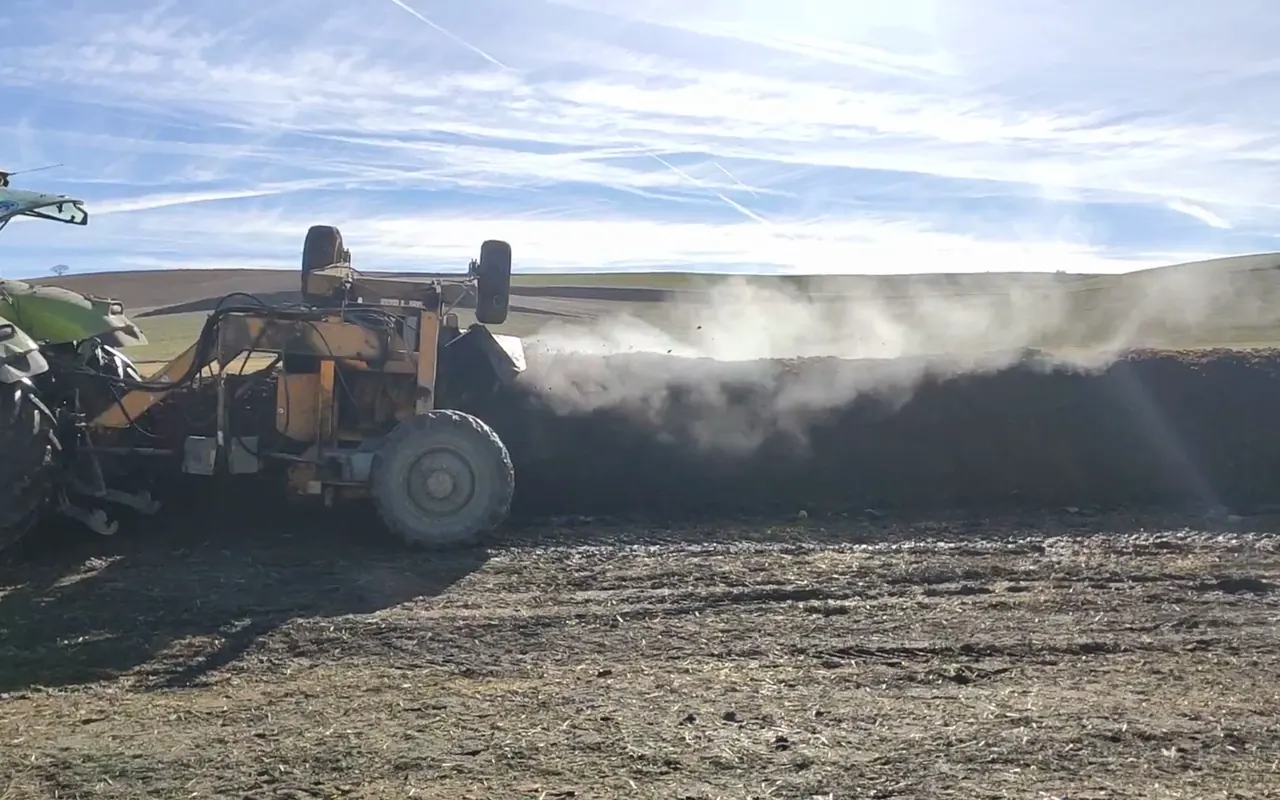
To apply MM with a backpack sprayer or through irrigation, the manual proposes activating them in liquid:
- Put about 5 kg of solid MM in a sack and tie it.
- Put the diluted molasses in a 200-litre drum.
- Submerge the sack, fill the drum with chlorine-free water and close it.
- Leave it for about four days.
Good liquid, according to the manual, has an amber colour and a pleasant fermented smell. If it turns violet or bluish, it is poor quality and must be discarded.
How to use them
The manual lists several uses:
- Solid, mixed with another organic fertiliser such as bokashi, compost or worm castings, on moist soil in the morning, covered with a layer of fertiliser to protect them.
- Liquid, diluted in water and applied to the plant or through irrigation.
- As an activator when making compost or bokashi.
For storage, the manual calls for hermetically sealed plastic drums (never metal), kept in the shade and labelled, and gives a shelf life of up to about six months.
Feet on the ground
MM are a cheap tool for increasing soil life, but they do not replace the rest of the system. They work best in covered soil, with organic matter and without excessive tillage, which is what the US Department of Agriculture's NRCS identifies as the basis of soil health: less disturbance, more cover, more biodiversity and living roots.
Don't rely on your eye alone either. If you start using MM, note it in your records and track the soil's evolution with field tests and analyses. Bioindicator plants will also give you clues about how it responds.
Common mistakes
- Collecting in treated or heavily trodden places.
- Too much water in the solid phase: if it drips, there's too much.
- Opening the drum too early.
- Using metal drums or leaving them in the sun.
- Applying in full sun or on dry soil.
- Not recording origin, dates and applications.
Start with one drum
A sack of leaf mould, a drum and a month of patience are enough to start. What matters is doing it methodically and recording everything, so that it becomes one more step towards autonomy from inputs.
If you want to add mountain microorganisms to your farm's biofactory with technical rigour, write to us.
Be the one who does it.
Sources
- Secretaría de Agricultura y Desarrollo Rural (Mexico) and INIFAP, Estrategia de Acompañamiento Técnico (2021). Manuales prácticos para la elaboración de bioinsumos. 13. Reproducción de Microorganismos de Montaña. Included in Jairo Restrepo's course material.
- USDA NRCS. Soil Health. https://www.nrcs.usda.gov/conservation-basics/natural-resource-concerns/soil/soil-health