
Measuring soil health with simple field tests: infiltration, aggregates and earthworms
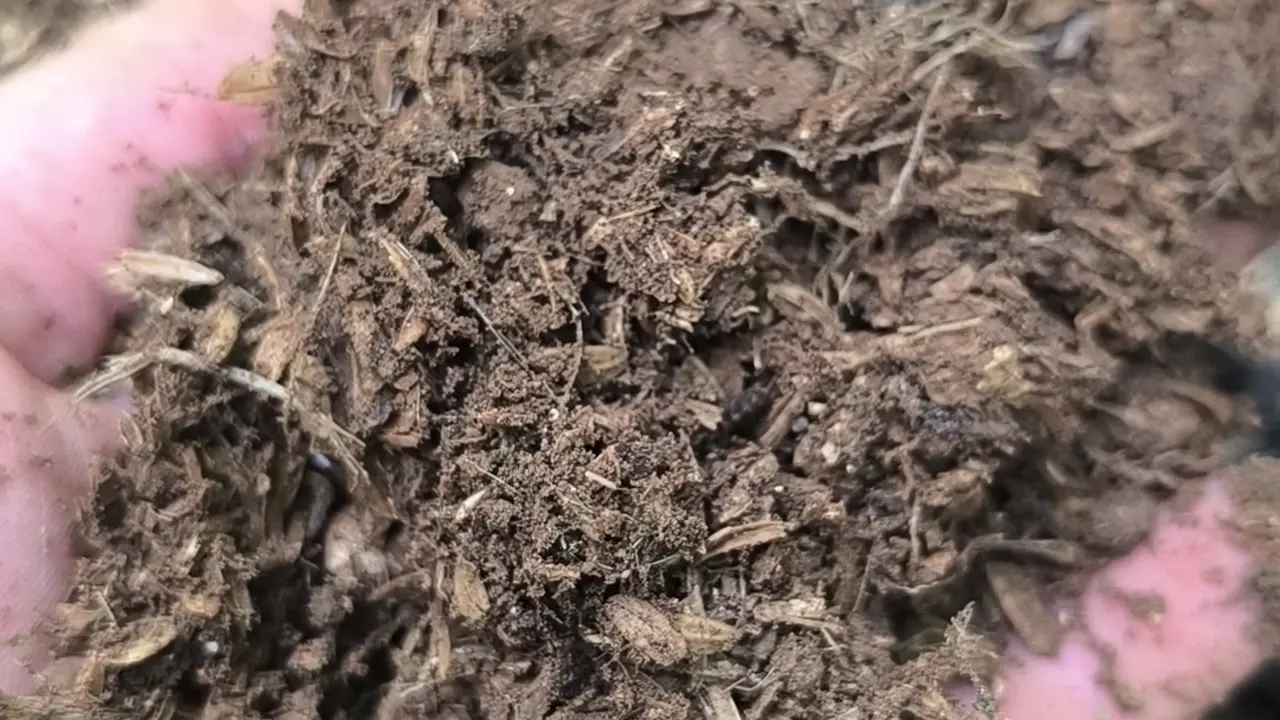
A laboratory test tells you a lot about your soil's chemistry, but little about how it works: whether water soaks in or runs off, whether clods withstand rain or fall apart, whether there is life working for you. That is what field tests are for, and you can do them yourself with very simple equipment.
In this article we explain three tests from the US Department of Agriculture NRCS soil quality test kit guide: infiltration, aggregate stability and earthworm counts.
Why do field tests
The NRCS guide presents these tests as a screening tool that gives immediate results to compare management systems, track changes in soil quality over time and detect possible problems. They are designed to be carried out by farmers themselves.
They don't replace the laboratory: they complement it. If you don't yet know how to interpret your test, start with our guide to reading a soil test.
Test 1: infiltration
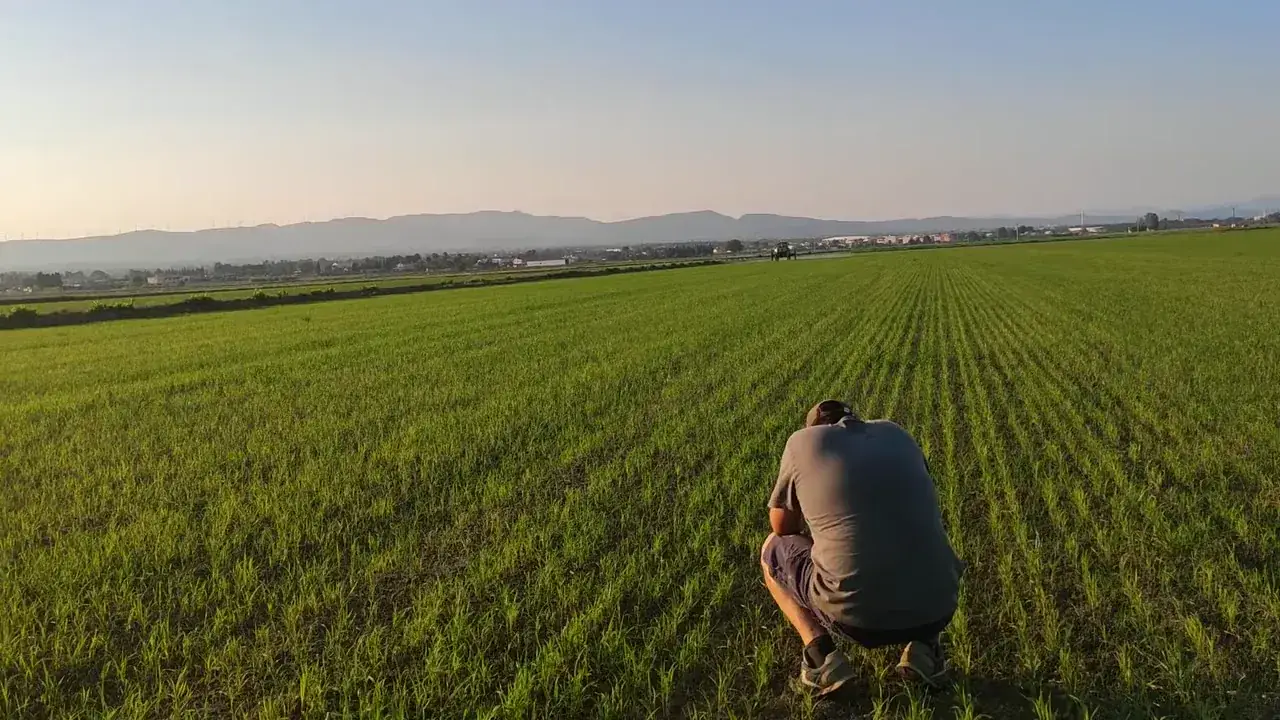
It measures how fast water enters the soil. This is key in the Mediterranean, where it rains little and often all at once.
Equipment: a metal ring about 15 cm in diameter (the guide uses a 6-inch one), plastic wrap, a bottle or measuring cylinder, water and a stopwatch.
How to do it, according to the NRCS guide:
- Drive the ring into the soil and gently firm the soil only along the inside edge, so water does not escape at the sides.
- Line the inside with plastic wrap, so as not to disturb the surface when pouring the water.
- Pour 444 ml of water into the ring. In a ring of this size, that equals a 2.5 cm (one-inch) layer.
- Remove the plastic carefully, leaving the water inside, and start the stopwatch.
- Record the time it takes for the water to disappear from the surface.
How to use it: compare points on the farm (a covered inter-row versus a tilled one, for example) and repeat at the same time each year. If water takes less and less time to soak in, you're on the right track.
Test 2: aggregate stability
It measures whether soil clods hold together when suddenly wetted, as in a storm. A soil with stable aggregates resists erosion and crusting better.
How to do it, according to the NRCS guide (slake test):
- Collect soil fragments from the surface, taking care not to break them. The guide suggests collecting 16 fragments; if there is a crust, half from the crust and half from below.
- Let them air-dry if they are moist.
- Immerse them in water on a fine sieve and observe how long they take to fall apart and how much remains on the sieve after several dips.
- Score each fragment. The guide uses a stability scale from 0 to 6.
Home version: even without the kit, you can put a dry clod from each plot in a glass of water and compare. If one falls apart in seconds and another holds, you already have a clue as to which management protects your soil better.
Test 3: earthworm count
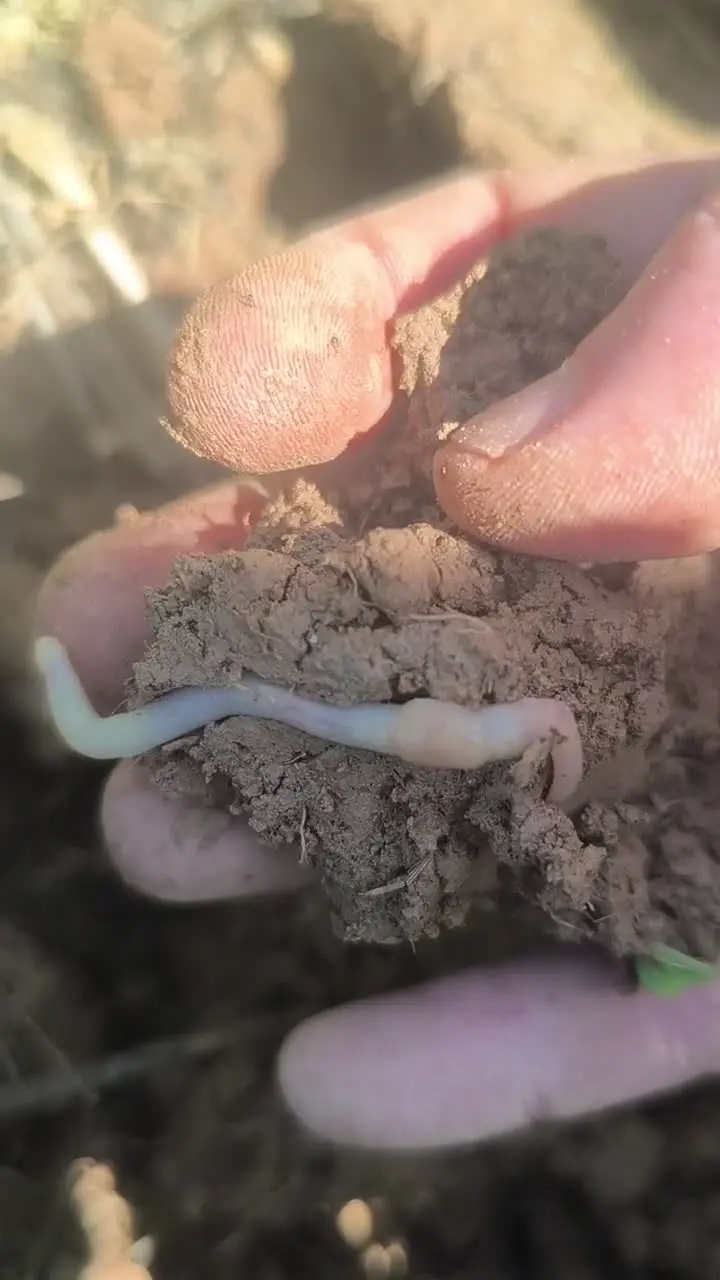
Earthworms are a good indicator of soil life. The NRCS guide explains that their activity improves infiltration, their casts improve aggregation and they shred plant residues for other organisms.
How to do it, according to the NRCS guide:
- Mark out a one-foot square (about 30 × 30 cm) and dig down one foot (about 30 cm), with as few cuts as possible.
- Spread the soil on a light-coloured surface and count the earthworms.
- Optional: pour 2 litres of water mixed with 2 tablespoons of mustard powder into the hole to bring out deeper-dwelling worms. According to the guide, they emerge within about five minutes and the mustard does not harm them; rinse them before returning them to the soil.
How to interpret it: the NRCS guide considers about 10 earthworms per square foot, roughly 100 per square metre, generally a good level. But it warns that populations vary greatly by place, season and species, and that not all soils have them. Its advice: count several times in the season and use the average to compare from year to year. It also recommends doing it in spring or autumn, when they are most active.
How to organise your tests
- Choose fixed points and mark them with GPS or stakes.
- Compare management: a covered area and an uncovered one, a plot with bokashi and one without.
- Repeat at the same time each year.
- Record everything with photos.
- Combine it with the laboratory test and the inventory of bioindicator plants.
These records are also the basis of a good regenerative passport: dated evidence of how your soil is evolving.
Common mistakes
- Doing each test in a different place every year.
- Comparing different seasons: a dry summer soil and a moist spring soil can't be compared.
- Drawing conclusions from a single measurement.
- Not noting the day's conditions.
- Counting earthworms next to compost piles, where the guide warns populations may be distorted.
Measure what you want to improve
With a ring, a glass of water and a spade you can start measuring your soil's health today. You'll find more resources on our soil page.
If you want to set up a soil monitoring protocol for your farm, write to us.
Be the one who does it.
Sources
- USDA NRCS (2001). Soil Quality Test Kit Guide. https://www.nrcs.usda.gov/sites/default/files/2022-10/Soil%20Quality%20Test%20Kit%20Guide.pdf
- USDA NRCS. Soil Health. https://www.nrcs.usda.gov/conservation-basics/natural-resource-concerns/soil/soil-health